How to Make a Video Transition: A Step-by-Step Guide
Whether you are a seasonal professional or just making videos for leisure, we are here to help you make visually appealing videos since the significance of video content has been increasing. Anyone hoping to succeed in the online world now needs to know how to edit videos, a vital component of making visually captivating videos is becoming skilled in transitions. Seamlessly weaving pieces of footage into a beautiful montage is the aim we wish you to achieve.
Hence, in this comprehensive guide, we will take you through a step-by-step process on how to make seamless video transitions, offering valuable insights and expert tips to enhance your editing prowess.
Understanding the Basics of Video Editing
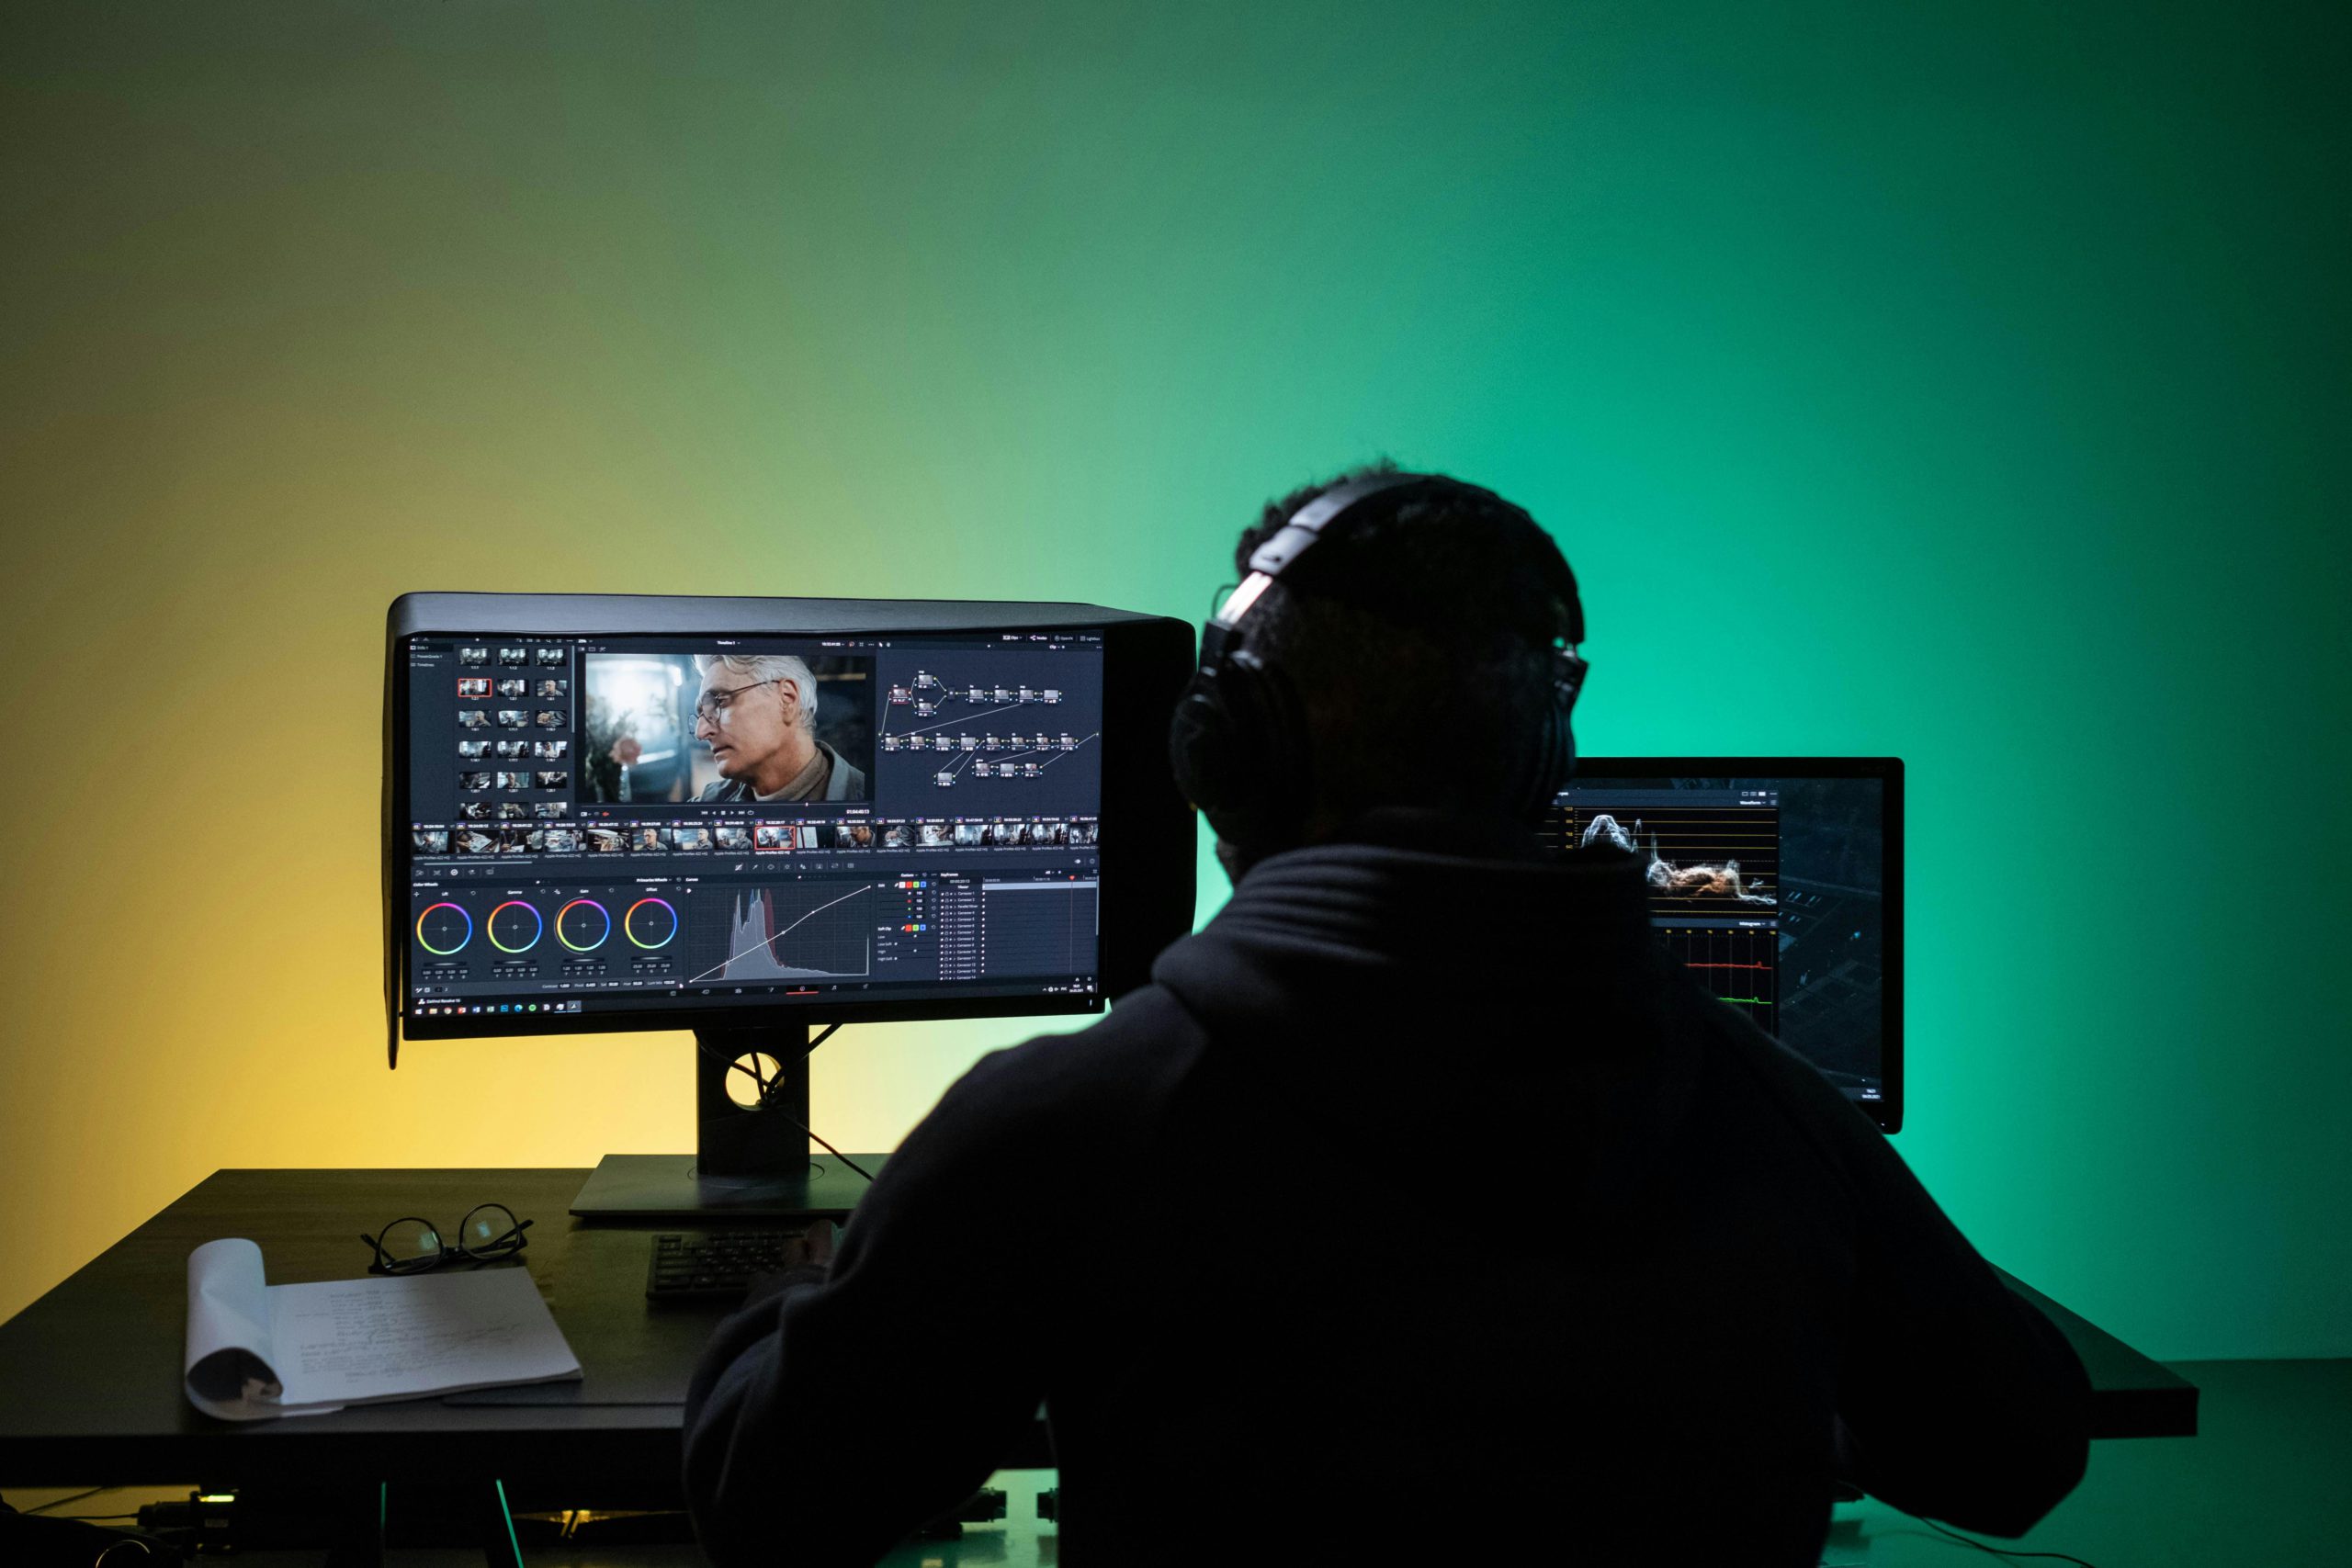
Before we dive right into video transitions, understanding the fundamental pieces of video editing is imperative. Learn how to use the video editing software that you have selected, we recommend Vidma Video Editor.
With Vidma Editor, you can play with the timeline, important your footage, add in any pictures and arrange your timeline to gain a clearer view when editing. Trim and cut your footage emphasizing moments you wish to keep in your video. These are the basic elements of editing and once understood, you can set the stage to produce aesthetic seamless videos. Play around with more editing options like applying filters and adjusting brightness. Once we have a good grasp of these fundamentals, we can move on to exploring video transitions.
What is a Video Transition?
A video transition is a technique used in video editing to smoothly move from one scene or shot to another. Transitions serve as a bridge between different elements in a video, creating a seamless flow and enhancing the overall viewing experience. These transitions can vary in style and complexity, and their choice often depends on the content, tone, and desired impact of the video.
How to Make a Video Transition?
Here’s a step-by-step guide on how to make video transitions, focusing on basic transitions you can achieve in most video editing software:
1. Choose your video editing software
There are various video editing software options available, from beginner-friendly to professional-grade. Some popular choices includes Vidma Editor, iMovie (Mac), Windows Movie Maker, and Canva.
If you are looking for the advanced and best features, try Vidma Editor.
2. Explore video transition
There are many different forms of video transitions, and each one has a specific function in presenting your story. Your visual story can flow smoothly and coherently between scenes thanks to the use of video transitions. They essentially fill in the space between shots, directing the viewer’s attention and enabling a smooth flow through the content in order to improve the viewing experience.
Understanding the variety of options available to you is essential, ranging from basic cuts and fades to more intricate transitions like wipes, zooms, and spins. Test out numerous transitions to observe how they affect the video’s flow and overall feel. This is a crucial step in refining your editing approach and giving your content a more dynamic feel.
Additionally, see how different transitions fit in different situations. For example, a subdued crossfade might perform well in a touching scene, while a flashy spin transition might jazz up an upbeat part. The whole watching experience is improved when the transition style is appropriate for the material.
3. Import your video clips
Once you’ve chosen your software, for example, Vidma editor, import the video clips you want to join with transitions. Most software allows dragging and dropping the clips into the timeline.
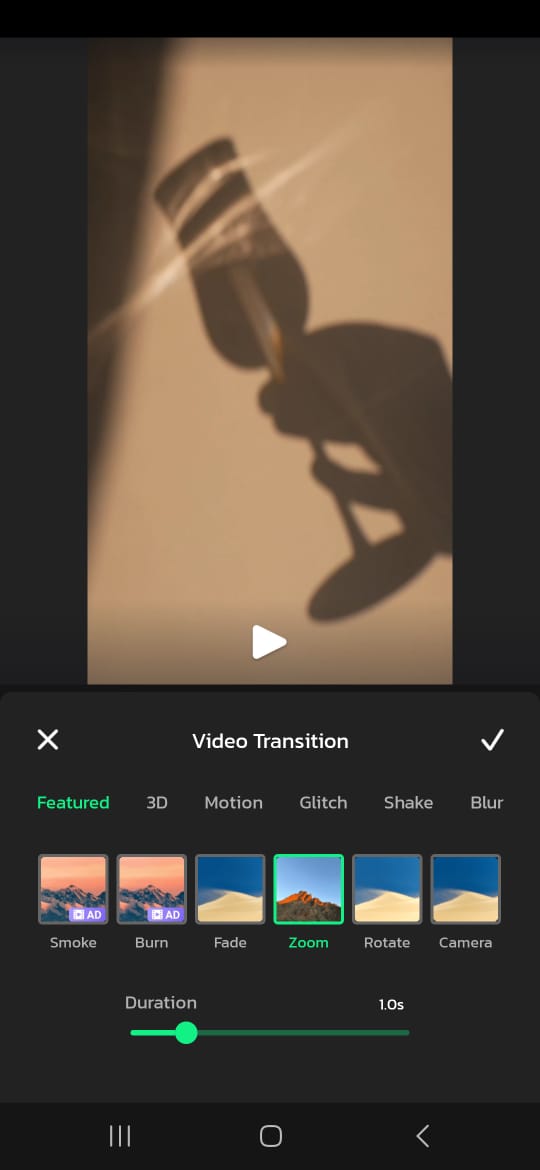
4. Select the transition type
Most editing software such as Vidma Editor offers a library of built-in transitions. These can range from simple dissolves and wipes to more complex shapes and motion graphics. Explore the available options and choose one that suits the mood and style of your video.
4. Apply the transition
Drag the chosen transition from the library onto the timeline between the two clips you want to connect. The transition will be added at the cut point.
5. Adjust the transition duration
Most transitions have a default duration, but you can adjust it to your liking. A longer duration creates a smoother transition, while a shorter one can be more dynamic. You can usually adjust the duration by dragging the edges of the transition clip in the timeline.Opens in a new windowclipchamp.comAdjusting video transition duration
6. Customize the transition effect
Some software allows you to further customize the transition effect. This might involve changing the color, blur, or direction of the animation. Experiment with these options to achieve the desired look and feel.
7. Preview and refine
Play back your video to see how the transitions look. If something feels off, don’t hesitate to adjust the duration, type, or even replace the transition altogether
Common Video Transitions
Introducing you to common video transitions which you can apply easily and enhance your videos presentation.
- Cut: The most basic transition, a cut involves a direct switch from one shot to another. It’s clean, quick, and often used for continuity in dialogue or action sequences.
- Fade: Fades come in two main variations – fade in and fade out. They involve a gradual increase or decrease in the intensity of the image or sound, providing a smooth transition between scenes. Fades are excellent for signaling the beginning or end of a sequence.
- Dissolve: Similar to a fade, a dissolve transition blends two shots together, creating a soft, dream-like effect. It’s a subtle transition often used for transitions between time periods or changes in location.
- Wipe: A wipe transition involves one shot replacing another by moving across the frame in a specific pattern. This type of transition can add a dynamic and eye-catching element to your video.
- Zoom: Zoom transitions involve a change in focal length, either zooming in or out from one shot to the next. This effect can draw attention to specific details or create a dramatic shift in perspective.
- L-Cut and J-Cut: These transitions involve extending the audio from one clip into the video of the next or vice versa, creating a smooth auditory transition even before the visual change occurs.
Stitching it all together
Video transitions are essentially the lesser-known heroes of video editing; they skillfully combine multiple elements to create a visually captivating and unified story. You may increase the impact of your videos by being skilled with transitions and carefully integrating them into your edits. Remember that every editing transition is an opportunity to enhance your narrative and enthral your audience as you continue to hone your editing techniques. Have fun with your edits!
Related Posts


