Video Editing Guide for Beginners: Step-by-Step
Given the current popularity of video content, whether you’re a novice content creator, a seasoned marketer, or simply aiming to enhance your video editing proficiency, this all-encompassing guide assists you in grasping the fundamentals of video editing. This comprehensive toolkit helps you piece together the basics of video editing empowering you to create supreme-quality content.
9 Essential Steps of Video Editing Guide for Beginners
Below are the 9 essential steps, empowering beginners to craft polished and captivating videos effortlessly. Let’s get started.
Step 1. Choose the right software
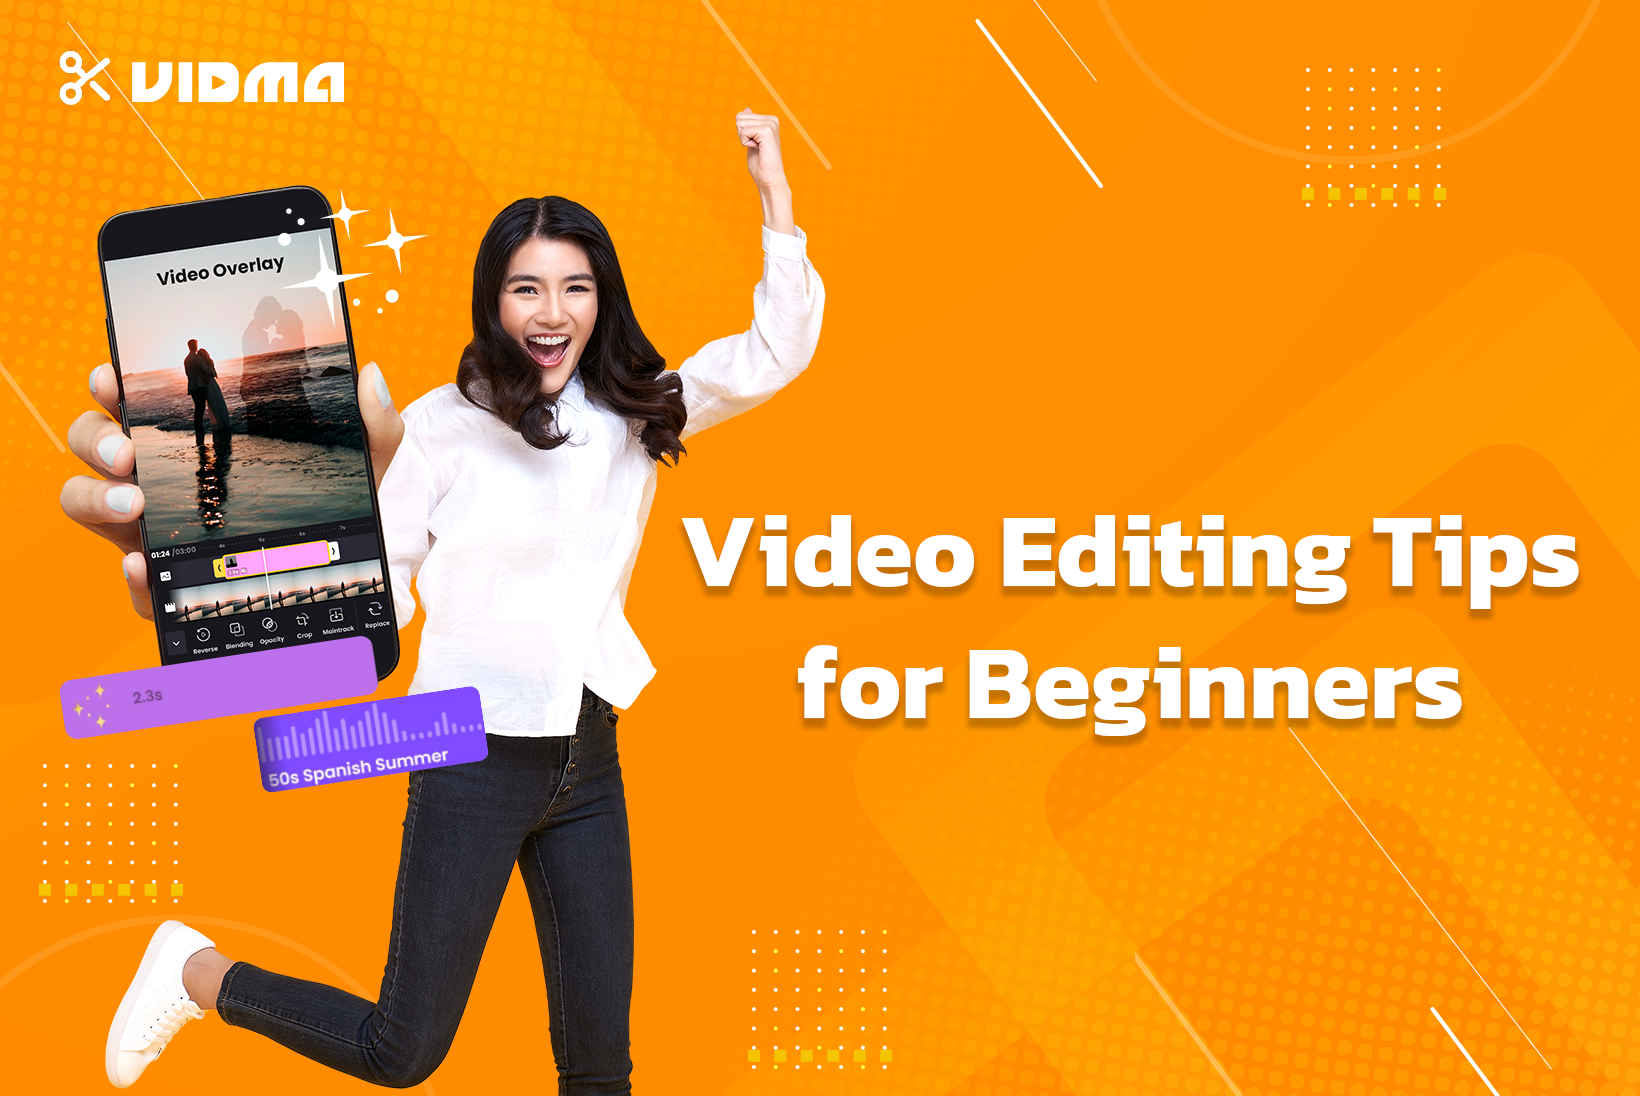
Finding the right software lays the foundation of your video editing projects. Choose a user friendly software which helps you easily navigate your editing functions, there are countless options to choose from- one of which is Vidma. This app comes with functional editing features and a free resource library that empowers you to quickly edit videos on mobile. Vidma Video Editor is equipped with an intuitive interface, making it an easy editor app to master even if you’re a beginner in video editing. Find a tool with an easy navigation and compatibility with your computer operating system.
Step 2. Browse the basics
Organise your media into dedicated folders to save time when adding footage to a project, lean how to import and export files from your devices to your social media accounts. Practise creating small projects to learn cutting, trimming, and arranging clips on the timeline. Eliminate extra footage to focus on the main story helping you to add clips hereon. Keep adding and playing with functions, sounds and effects until you find ones that work best for you.
Step 3. Focus on the timeline
The timeline is where the main magic of video editing begins. It is your canvas to arrange your media files, add sound, effects as well as transitions. Take a glance at the various tracks in the timeline like, audio, text, graphics etc, these help you understand the backend structure of the video being edited. A decluttered timeline is a great way to understand and add any additions elemnts when further enhancing the video.
Step 4. Cut & Trim
Precision is essential to create a seamless flow in the video, understanding when to cut and trim can enhance a video immensely. Cutting helps you delete unwanted footage saving time and reducing video length where as trimming helps you adjust the beginning and end of a clip. Learn how to cut and split a video to preserve the parts you wish to use. Honing these basic skills, you can piece together video content and create well edited cuts.
Step 5. Adjust Speed
Play around with different speed adjustments on your clips, upscaling your creativity and making videos much more exciting. Speed up for excitement and slow down to focus and emphasise on a certain part of the video greatly enhancing the final project. Most software offers the option to adjust the speed in your videos, making it easier to align your footage perfectly with sounds and voiceovers. Vidma video editor offers an advanced suite of functions to create top-notch content.
Step 6. Add Sound
Music and Voiceovers can elevate the feel and impact of the video, add music and sound effects to enhance the overall viewing experience. Use voiceovers when telling a story, sharing a tutorial or adding a song complementing the video makes a vast difference in your cideo quality. Vidma allows you to add music and elevate your videos with a cool soundtrack to complement the visuals! Browse through their free music library for the latest trending songs and free background music to add to your videos!
Step 7. Using Transitions in your videos
Transitions can help you smooth out any imperfectly cut shots, seamlessly stiching multiple clips of the video while also adding visual interest. Use transitions and animations to level up your creative endeavours, keeping the viewers engaged. Experiment with different transitions and styles to suite your video and find what works for you best.
Step 8. Incorporate text
Using texts and SEO optimised graphics to cater to your segmented audience can help then read and understand your story. Make it easier for the audience to follow the video by adding subtitles and using specific text when describing people and places. Finding the right font for your texts also levels your videos’ aesthetic and theme, play with font size, alignment and spacing to find the style which fits your videos. Make sure your text is readable and within the video frames.
Step 9. Export your final project
Once you have tried and tested various elements to finalise your video, go ahead and hit export to download the completed file on your device. Choose specific video format and resolution requirements, to make sure you choose the appropriate settings when you export the project. Be sure to share your video with people and use feedback to improve your skills and add value.
Conclusion
Getting familiar with and being proficient as a video editor takes time, trial and a lot of errors. Practise various functions, templates and effects to find those that fit your pallete. Make sure you implement these essential steps when starting out as a beginner. Remember to choose the right software, organise your media files, master the art of timing, utilise transitions effectively, and pay attention to audio quality. With the right techniques and dedication, you’ll be on your way to creating visually stunning and engaging video content. Remember that each project is an opportunity to refine your skills and create compelling, professional-looking videos.
Happy editing!


